|
|
WELCOME TO SICStus Prolog Leading Prolog Technology |
| SICStus Home > The Spider IDE > Installation | Download for Evaluation |
|
|
WELCOME TO SICStus Prolog Leading Prolog Technology |
| SICStus Home > The Spider IDE > Installation | Download for Evaluation |
SPIDER InstallationSPIDER is the SICStus Prolog IDE, based on Eclipse. IntroductionWhen you have completed the installation you can continue with the Getting Started page, or the overview page. Quick StartMinimal instructions for installing SPIDER:
if the above instructions were enough, you should now be ready to develop Prolog code with SPIDER. If not, read on for detailed installation instructions. Prerequisites
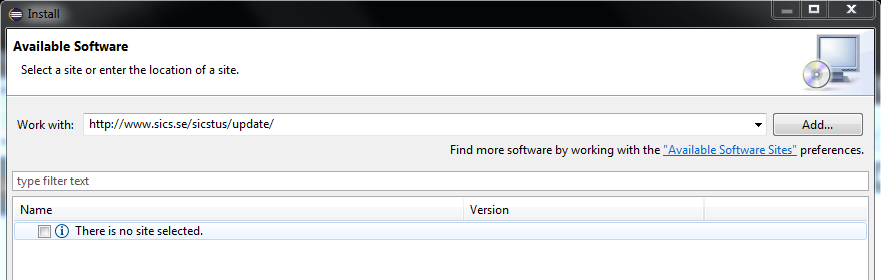
Install the SICStus IDE feature into EclipseThese are the detailed steps for telling Eclipse about SPIDER. Once you have Eclipse up and running you need to tell it to download and install the SICStus specific features. Eclipse has a concept of “Update Site” which is a web location with special content. It does not contain any interesting human-readable content. Select the “Install New Software” menu item from the Eclipse Help menu. (The screenshots are from an old version of Eclipse, it should look similar in current versions of Eclipse). 
Then fill in the update-site address,
 You can give the update site a name, e.g. SICStus Prolog IDE. 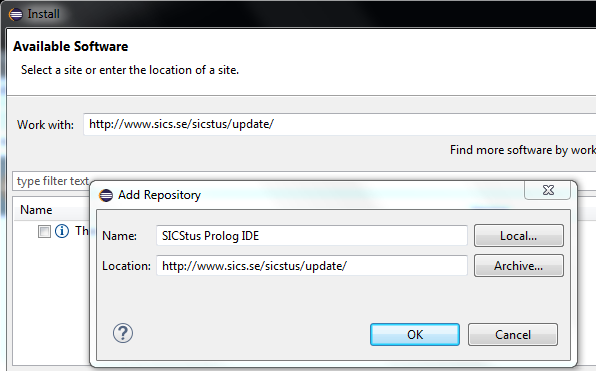 Eclipse should now present a list of the features available at the update site. Select the SICStus IDE Feature and click Next. Accept the license terms and click Finish. 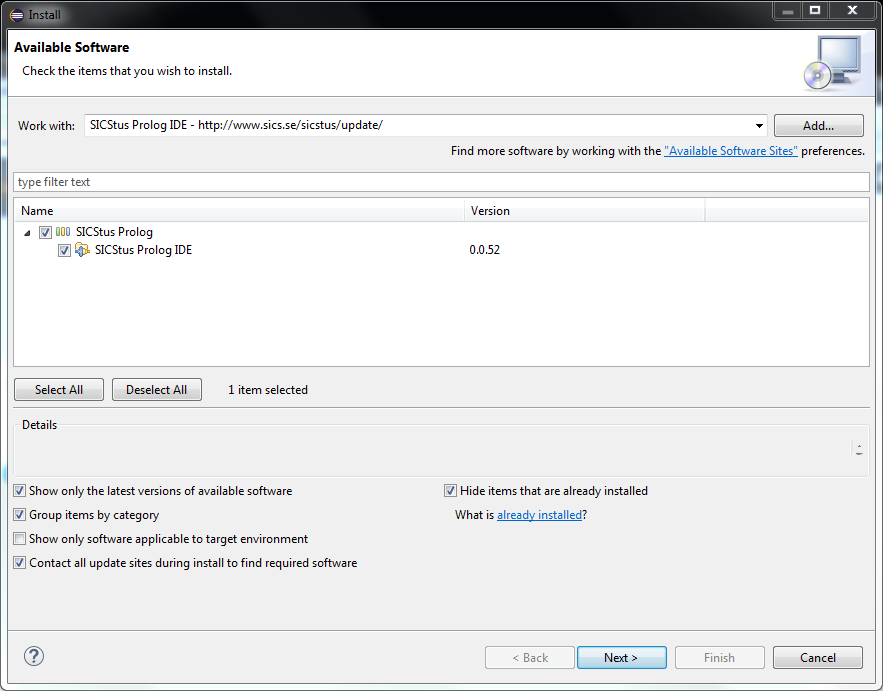 Eclipse may warn about “… unsigned content.”, this can safely be ignored in this case. Allow Eclipse to restart itself. 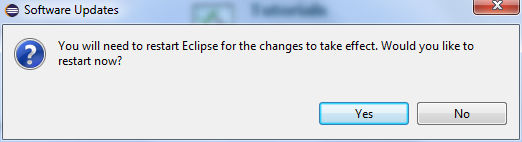 There should now be a Prolog-specific entry on the Eclipse Welcome Page (you can open the Welcome Page from the Help menu). You should close the Welcome page, e.g. by clicking on the “Workbench” button in the upper right corner. If SPIDER could not automatically select the SICStus Prolog to use, it will prompt you to set things up in the preferences, as shown below. 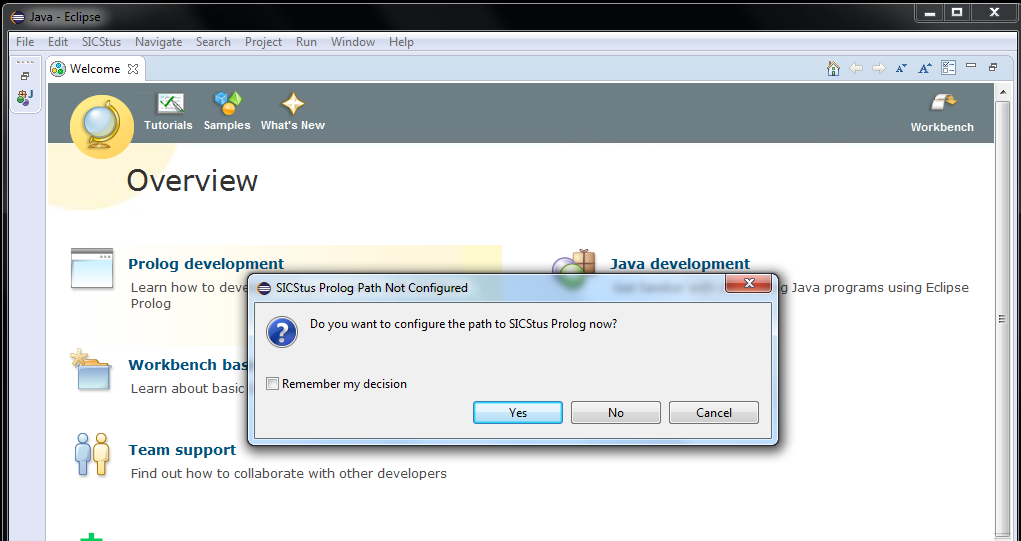 Setting up the SICStus IDEThese are the detailed steps for telling SPIDER about the location of SICStus Prolog.
Once SPIDER has been installed into Eclipse you need to tell SPIDER
about where the SICStus program, e.g. The SPIDER preference page “Installed SICStus Prologs” lets you search for available SICStus Prolog installations and select which one to use. If you installed SICStus Prolog in the default location, it will typically be found automatically. It is also possible to use the Search button to search for all installations within a folder tree on disk. (The screenshots are from an old version of Eclipse, it should look similar in current versions of Eclipse). 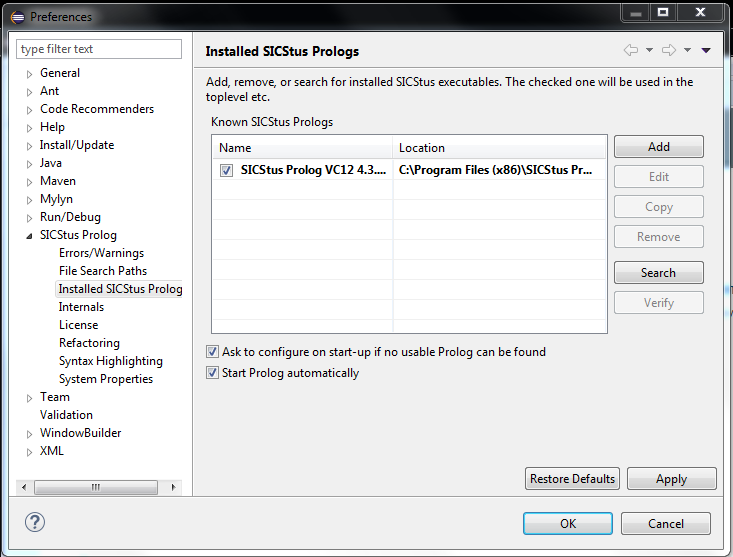 Once you have selected a SICStus executable, and closed the preferences dialog, a “Prolog Reference” project should be created (or updated) automatically. This is a project that refers to the library files that come with SICStus Prolog. You should not modify this project (but you can use it to browse the library files and their example code). The setup of SPIDER is now complete. Continue at Getting Started. |